
Learning how to fix electrical outlet problems can save you time and money on basic repairs. Skilled electrical technicians recommend following proper safety steps before starting any work. This guide covers the key steps from safety prep to testing your finished repair. You’ll learn about the tools needed and how to spot common outlet problems. Each step helps beginners handle outlet repairs safely and correctly.
Safety Precautions
Safety comes first when working with electricity. Always turn off power at the circuit breaker before starting work. Use a voltage tester to double-check that no power flows to the outlet. Wear rubber gloves and safety glasses to protect yourself from shocks. Never work on outlets with wet hands or in damp areas. Check all wires for damage, like fraying or bare copper showing. Use tools made for electrical work that have insulated handles. When you’re not sure about something, call a professional electrician. Taking these safety steps prevents accidents and keeps you safe during repairs.
Tools and Materials Needed
Get these tools before you start: a voltage tester to check for live wires, screwdrivers (both flat and Phillips head), needle-nose pliers for wire work, and wire strippers for preparing connections. You’ll also want a flashlight for better lighting, electrical tape for wrapping connections, wire nuts for joining wires, and replacement outlets if the old ones are broken. Keep a notepad handy to write down which wire goes where. Having everything ready makes the job go smoother and safer.
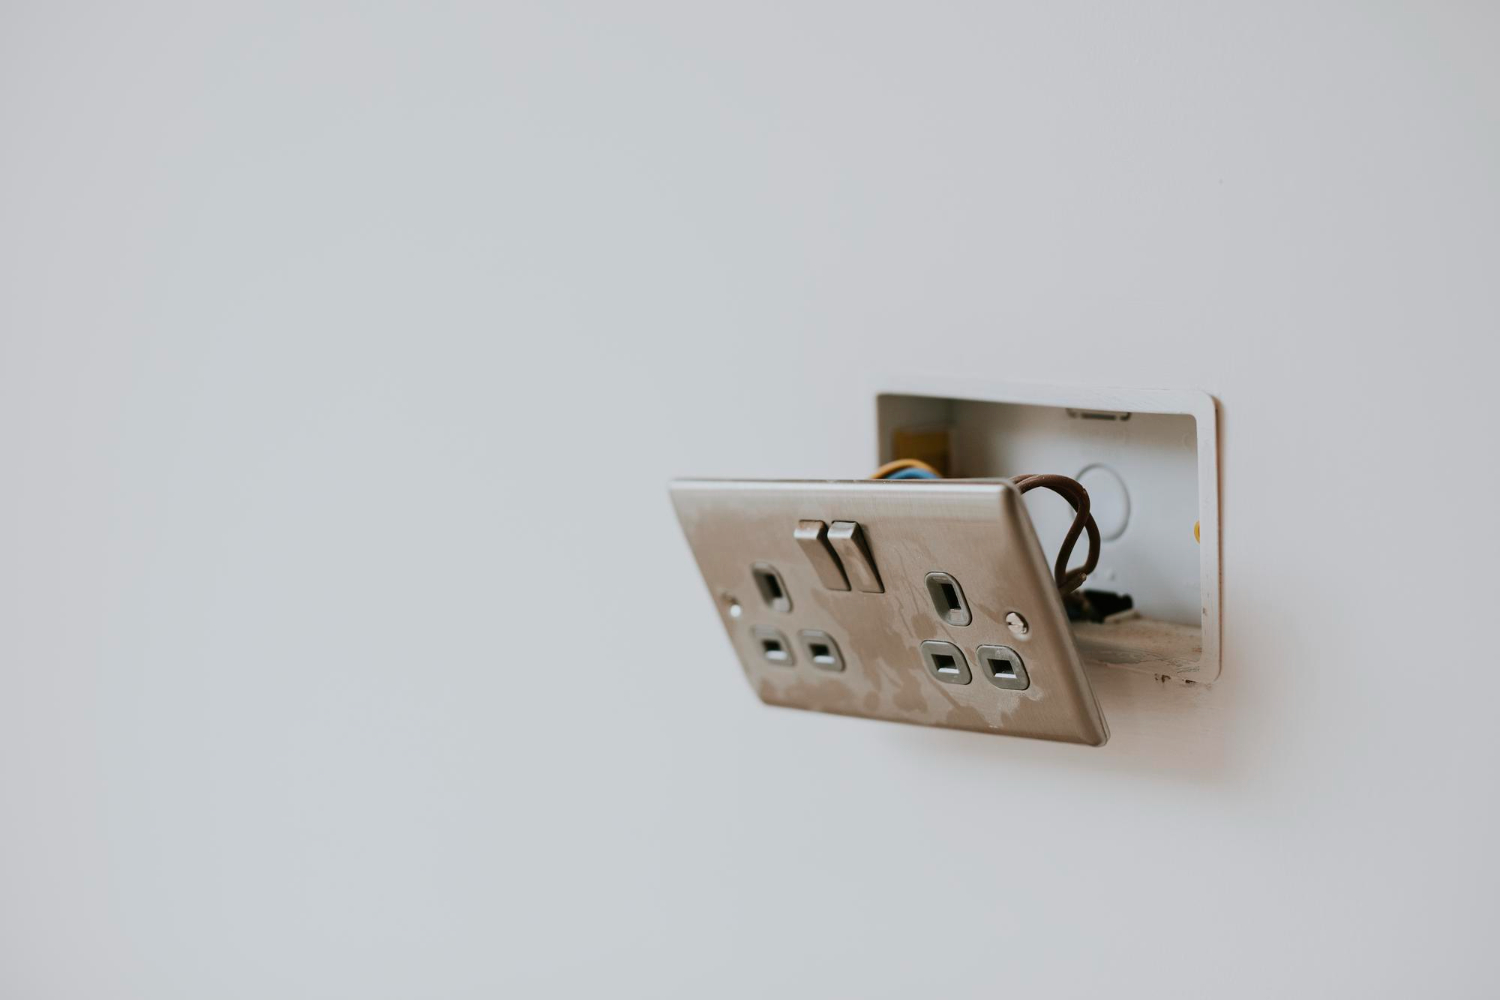
Identifying Outlet Issues
Look at the outlet for cracks, burn marks, or brown spots that show damage. Gently wiggle any plugs to see if the connection feels loose. Use your voltage tester to make sure the power is off before you start. Feel around the outlet – if it’s warm or smells like burning, stop and call a professional right away. Check for water damage or moisture near the outlet. If the outlet doesn’t work at all or only works sometimes, the problem might be in the wiring behind the wall.
Turning Off Power Supply
Find your home’s electrical panel and open the cover. Look at the circuit breakers to find the one that controls your outlet. Flip that breaker to the OFF position—don’t just use the wall switch. Test the outlet with your voltage tester to make sure no power is flowing. The tester should stay quiet and show no lights if the power is truly off. Never skip this step, even if you think the power is already off.
Replacing Outlet Components
Start by removing the outlet cover with a screwdriver. Next, unscrew the outlet from the wall box and carefully pull it out. You’ll see three types of wires: black (hot), white (neutral), and green or bare copper (ground). Loosen the screws holding these wires and remove them from the old outlet. Connect the same wires to your new outlet in the same spots. Tighten the screws well, push the outlet back into the box, and put the cover back on.
Testing and Verifying Functionality
After installing the new outlet, use your voltage tester one more time to confirm everything is wired correctly. Turn the power back on at the breaker. Plug in a simple device like a lamp to see if the outlet works. If you have an outlet tester tool, use it to check that all the wiring connections are correct. The outlet should provide steady power without flickering or sparking. If anything seems wrong, turn off the power again and double-check your connections.
Related Topics: